Tell us a little bit about block printing and where it comes from?
I believe block printing originated in China in about the 12th century. It’s a very ancient form of decorating cloth and paper the basic technique of which has gone unchanged. Designs and colours were symbolic of tribes, wealth and ancestry.
What do you love about block printing? How did it inspire you to start your business?
I love the immediacy of the print and enjoy the repeat rhythm of the block to paper/fabric and seeing the design build up. I started to print as a hobby but it caught the eye of friends who started to commission wallpaper and fabric Really the business grew organically and accidentally.
Why is it effective and is it easy to do yourself?
It is very effective. A blank canvas can quickly become a pretty and practical piece of paper/fabric; we all did potato printing at school, it really isn’t much different! However, it does require a lot of patience and a steady hand.
What should you look out for when buying a block, ink and paper?
The old Indian wooden blocks get worn down over time and don’t print as accurately as one would want. I think its really great if you can carve your own design. Traditionally this is done with lino, but this needs a bit of practice. Today there are some lovely soft rubber blocks that you can buy in most art shops or online that are really easy to carve and so perfect for the first timer.
With regards to paper, nothing too smooth (the block slips) and nothing too textured (you won’t get a neat finish). I love using plain lining paper (from Homebase etc), it has a great texture and is hard wearing for wrapping around stationery etc. If you are printing on paper you can try any paint, including lovely chalk emulsions we now get. It’s really about the density of the paint - not too thick and not too thin!
With fabrics you really need a paint that is specifically for this use, readily available from art shops/online, although having said that you can actually print with chalk based emulsions too……as long as you heat set them afterwards they work really well.
What are your colour and paper recommendations for this time of year?
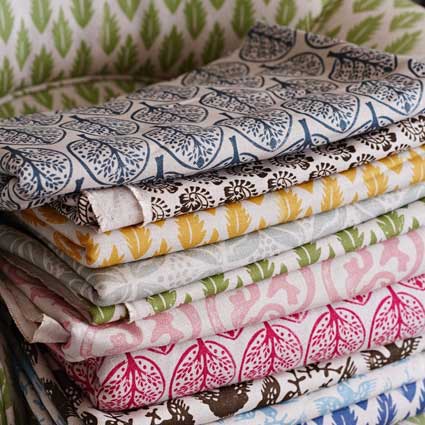
This year I am really into reds, oranges and yellows. Festive, but warming colours. A great big roll of brown paper is my goto at this time of year….perfect for all those presents I’ve got to wrap!
What equipment do you need to print wrapping paper:
- A roll of brown parcel paper.
- An old blanket or a piece of felt to cover the table.
- A white sheet or piece of fabric (optional)
- A small container tray, could be tupperware!
- A piece of wool blanket or felt in the tray
- Your paint of choice
- A paint brush
- A block!! Either carved by yourself in lino/rubber, or bought online.
- An apron - these things can get messy!
How should you prepare?
Firstly, organise your block. You can carve amazing designs into potato, lino or rubber, or you can buy traditional printing blocks online, but look for newly carved ones.
Decide on the colour you want to print with. If you are using a fabric paint I would suggest watering it down slightly, often fabric paints can be too thick.
I love a well prepared space. You need to cover a table with an old wool blanket or similar and then I have some old white sheets that I put over the top - it gives me a cleaner surface to print from. You will get a better print if you have this padded surface in place.
Have everything you need in reaching distance. I always have the ink tray closest to the side that I am printing (i.e. I move it to the right when I am half way across), this lessens the risk of ink being spilt or accidents happening when reaching for the ink tray.
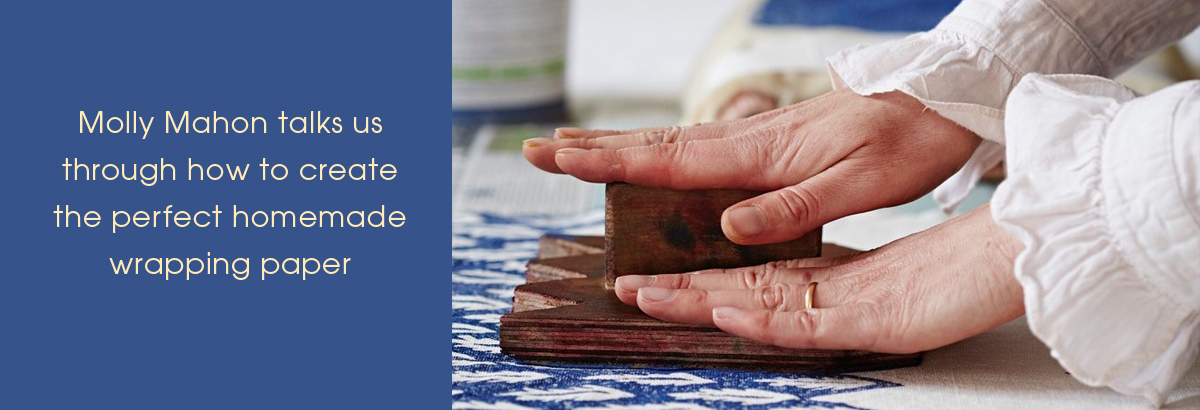
How do we create the perfect printed wrapping paper?
To create your ink pad, squeeze/spoon the paint on to the felt in the tray, don’t over soak it. You want it to hold just enough ink so that it’s neither too wet nor too dry.
Load your block with ink. There is a technique to this and it takes a bit of practice. You want to try and lift the block off the pad as opposed to pushing it on to the pad and over soaking it.
Starting with the top left hand corner (unless you are right handed) position the block over the paper, commit and gently press down the block. Push down hard, but make sure not to slide the block. Lift up the block with confidence! Work across the paper to the right continuing to load up your block each time before you print.
Leave the paper hanging to dry. Once dry run an iron across it to set the paint.
Finally…
Look at your finished piece, enjoy any imperfections that may have occurred during the process and pat yourself on the back for creating something creative, colourful and inspiring.
If this feels too scary or you are still unsure about how to go about this, please come and join me on one of my Art of Block Print workshops that we are running next year. We will be in lots of exciting venues including Aylesford in Oxfordshire, Aesme Flower Studio in London and one or two lovely venues in Sussex.